Build a Pocket Studio with the Phone You Already Carry

Today we dive into Smartphone Photography Rigs: Building a Pocket-Sized Studio with Your Phone, turning the camera you already carry into a nimble setup for stable shots, molded light, clean sound, and fast editing. Expect practical gear ideas, clever home hacks, and real-world examples that invite you to try, share, and refine your craft alongside other curious creators.

Pocket Studio Foundations

Start by building a reliable base that keeps your phone safe, steady, and ready for quick adjustments, because stability and ergonomics unlock sharper images and confident framing. A simple combination of a compact tripod, a comfortable grip, and a protective cage creates mounting points for lights and microphones, while leaving buttons reachable. Follow along, ask questions, and compare setups with others so your pocket studio evolves with your skills and projects.

Stability First: Tripods, Grips, and Cages

Camera shake ruins detail, so prioritize a sturdy mini tripod or tabletop stand with a ball head for precise angles, then add a wrist-friendly grip to reduce fatigue during longer sessions. A lightweight cage with cold shoes and threaded sockets keeps accessories secure and organized. Pair everything with a remote shutter or timer to eliminate taps, and you will immediately see crisper edges, straighter horizons, and fewer accidental blur streaks.

Light Matters: Portable LEDs and Diffusion

Small LED panels with trustworthy color accuracy transform phone photos. Choose lights with adjustable brightness and color temperature, then soften them using diffusion sheets, frosted plastic, baking parchment, or a simple white t-shirt to tame harsh specular highlights. Bounce light off foam board for broader coverage, and use black card for negative fill that restores shape. Keep fixtures on swiveling mounts so you can fine-tune angles without moving your camera.

Sound You Can Trust: Compact Microphones

Even still photographers benefit from clear audio when recording behind-the-scenes notes or creating short explainers about lighting choices, and it becomes essential for product reels. Use a compact shotgun or lavalier connected with the correct adapter, secure the cable along your rig, and monitor levels with headphones when possible. Good sound elevates perceived image quality, helps clients trust your process, and makes sharing tutorials more engaging and memorable.

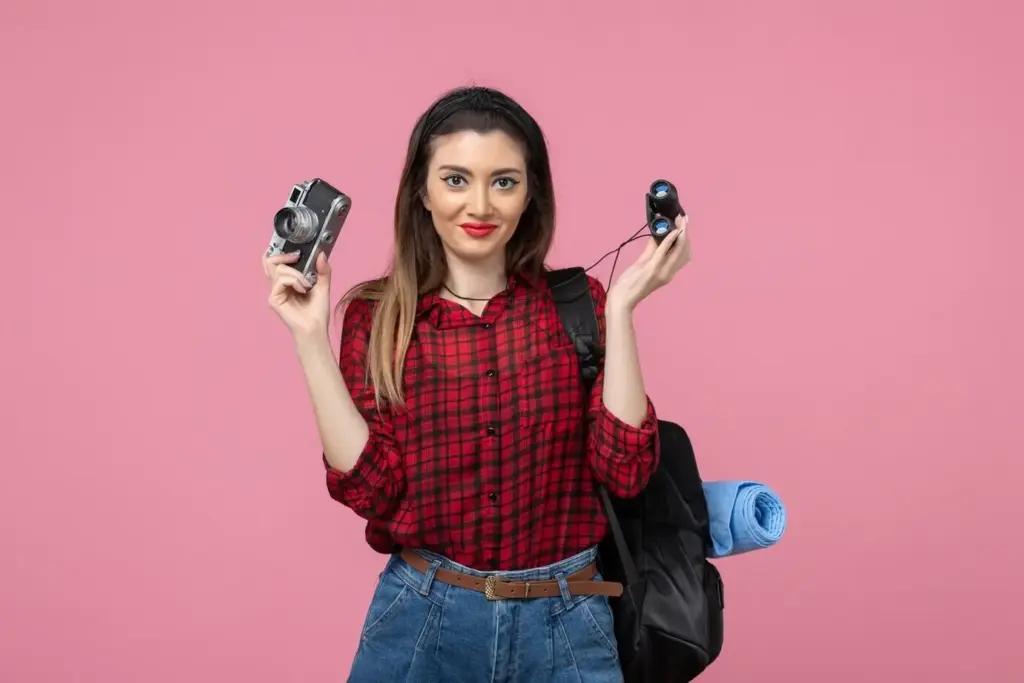
Creative Optics on a Budget

Add-on optics expand creative options without replacing your phone. Thoughtful, well-aligned lenses can reveal macro textures, sweeping interiors, or distant details while maintaining reliable focus and minimal aberrations. Test alignment carefully, clean everything before mounting, and compare results across native focal lengths. With a few small pieces tucked in a pouch, you can adapt your pocket studio to portraits, products, travel moments, and street scenes, learning what truly suits your style.

Controlling Exposure Like a Pro

Manual control turns a capable sensor into a predictable tool. Use a camera app that allows shutter speed, ISO, white balance, and focus to be set deliberately, then save custom presets for repeated setups. Knowing how light levels, motion, and color interact helps you create consistent results that are easy to edit. With practice, you will stop guessing, plan exposures on purpose, and tell compelling visual stories under pressure.

Lighting Setups for Any Tabletop

Tabletop scenes reward thoughtful lighting more than expensive gear. With a few clamps, cards, and compact lamps, you can shape reflections, emphasize texture, and control background separation in any small corner of your home. Work methodically: move one light at a time, take notes, and capture behind-the-scenes frames for learning and sharing. These repeatable setups turn simple objects into persuasive visuals for portfolios, online shops, and social posts.
Highly reflective items reveal every light source, so aim for large, soft reflections that describe the form without blinding hotspots. Build a tent with diffusion material or white fabric, then place matched lights on both sides to create a clean gradient. Add a top bounce for a gentle highlight and a black card near edges for crisp definition. Rotate the object slowly, watching how the reflections curve and breathe.
Window light can be beautiful and free. Place your subject near the brightest pane, position a white reflector opposite to lift shadows, and use sheer curtains or thin paper for diffusion when needed. A dark card nearest the darkest side adds contrast and dimensionality called negative fill. Shoot at consistent times to keep direction predictable, and record quick notes so you can recreate that lovely glow on demand.

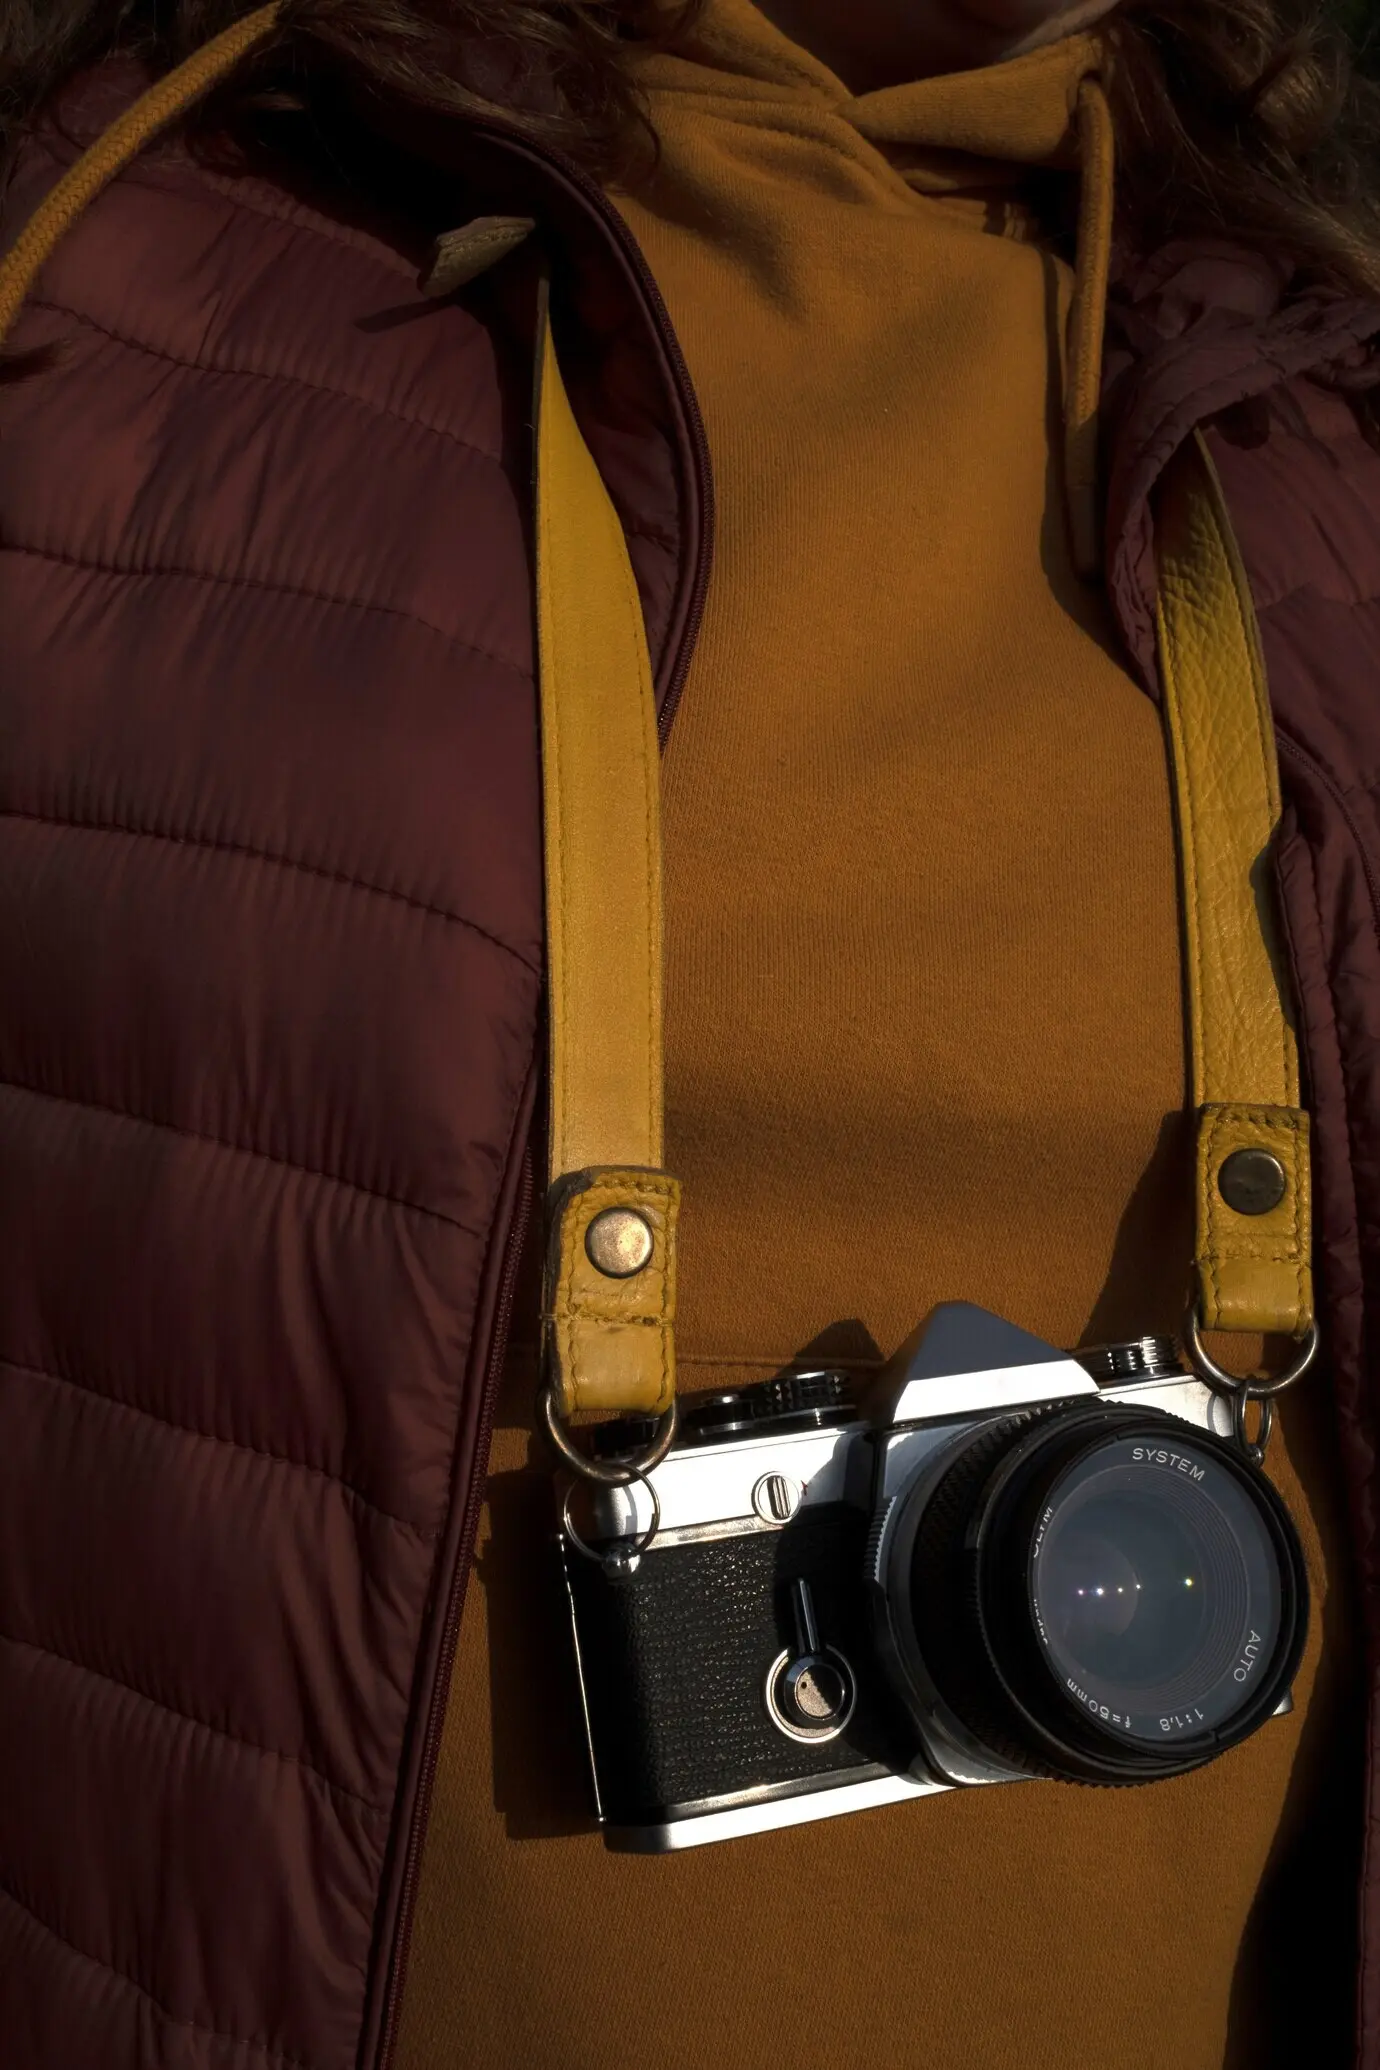
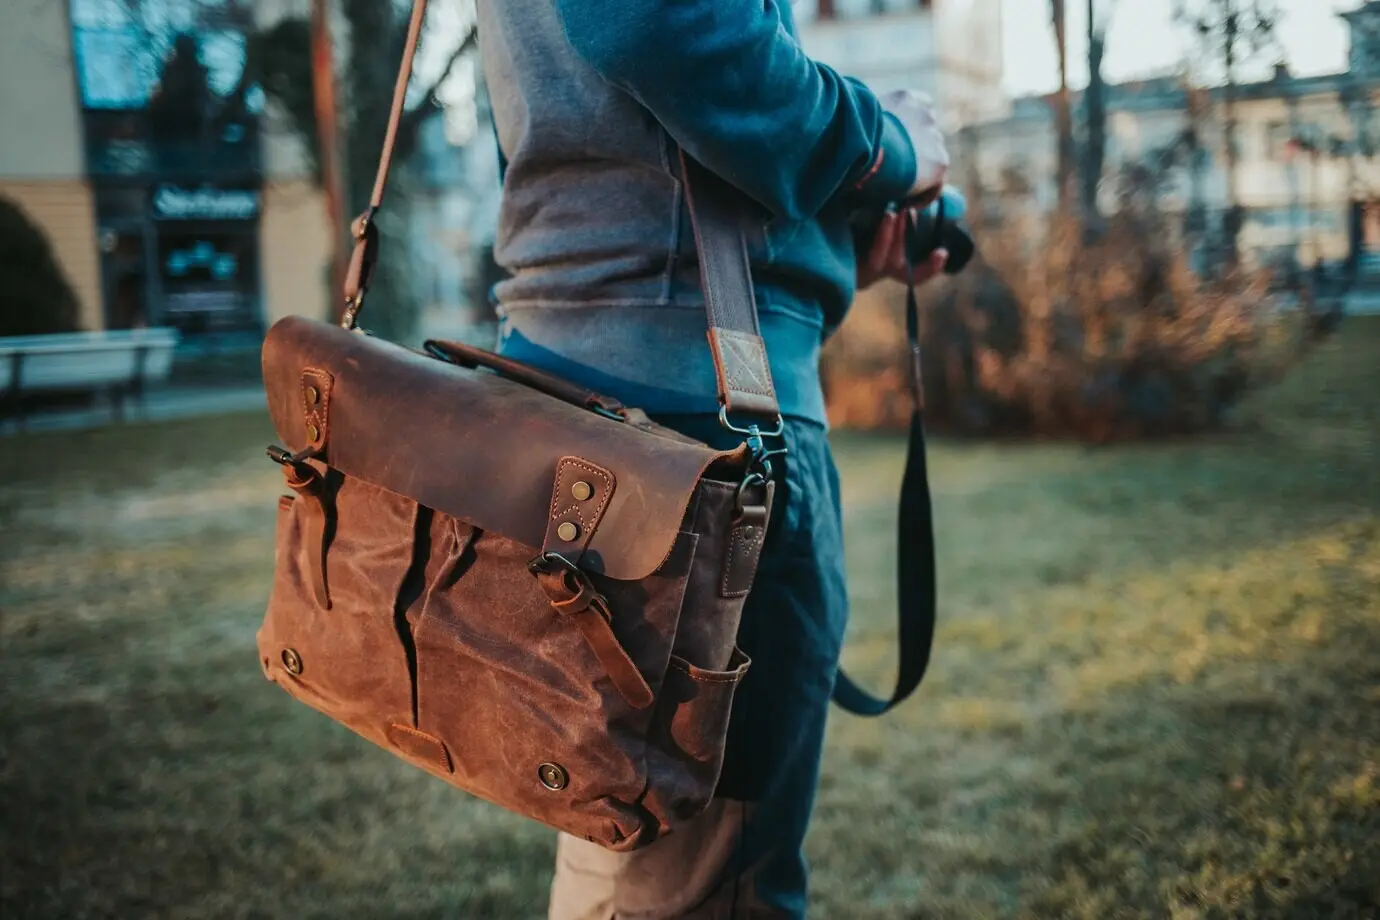
Walking Shots without the Wobble

Handheld video often looks jittery because our bodies bounce. A small gimbal or a well-balanced handle, combined with slow heel-to-toe steps and gentle bends at the knees, can smooth motion dramatically. Keep your elbows tucked, point your hips where you are moving, and match shutter speed to frame rate for natural motion blur. Review clips on location, adjust your stance, and reshoot until the path feels calm.

Car Mounts and Safety

Mounting a phone near a vehicle demands caution and redundancy. Use rated suction mounts on clean glass or bodywork, add a safety tether, and avoid obstructing the driver or sensors. Check local laws, rehearse the route, and keep speeds modest to protect gear and people. Stabilize with a wider lens to minimize shake, and plan concise takes so you can reset the mount frequently and safely.

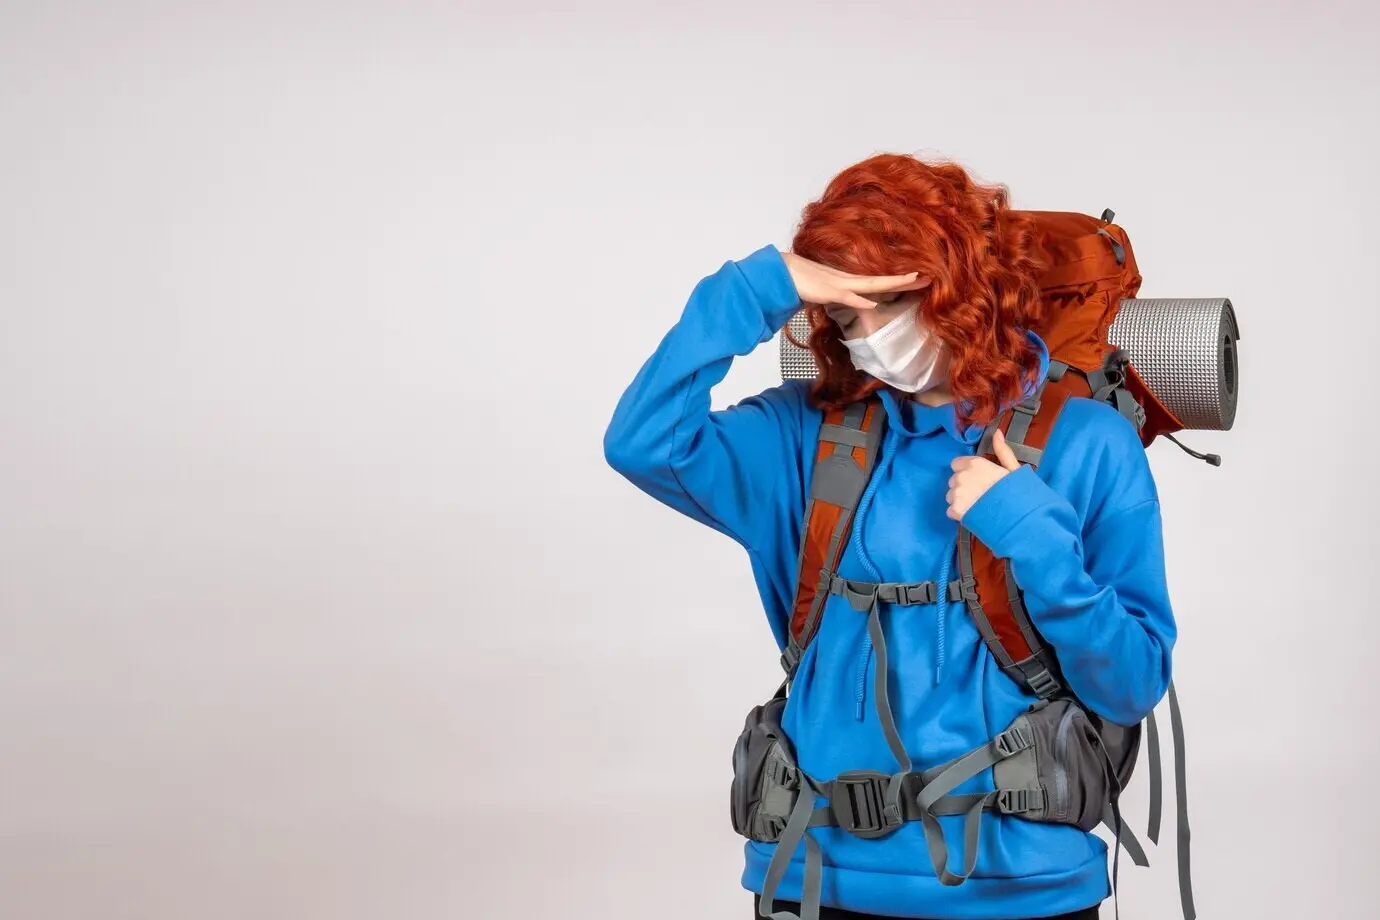
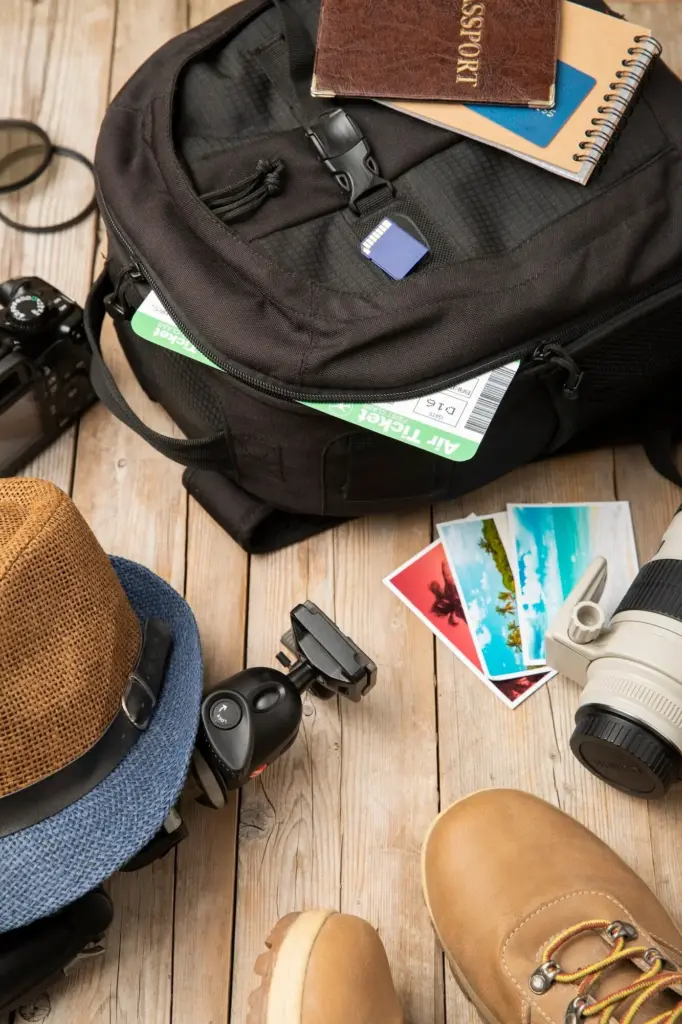
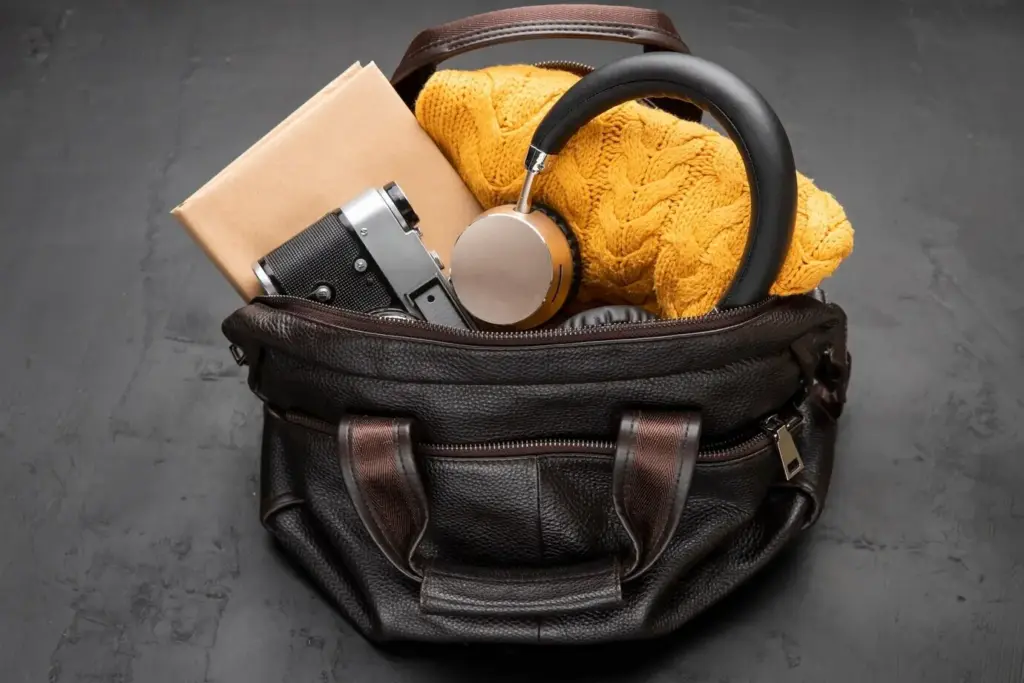
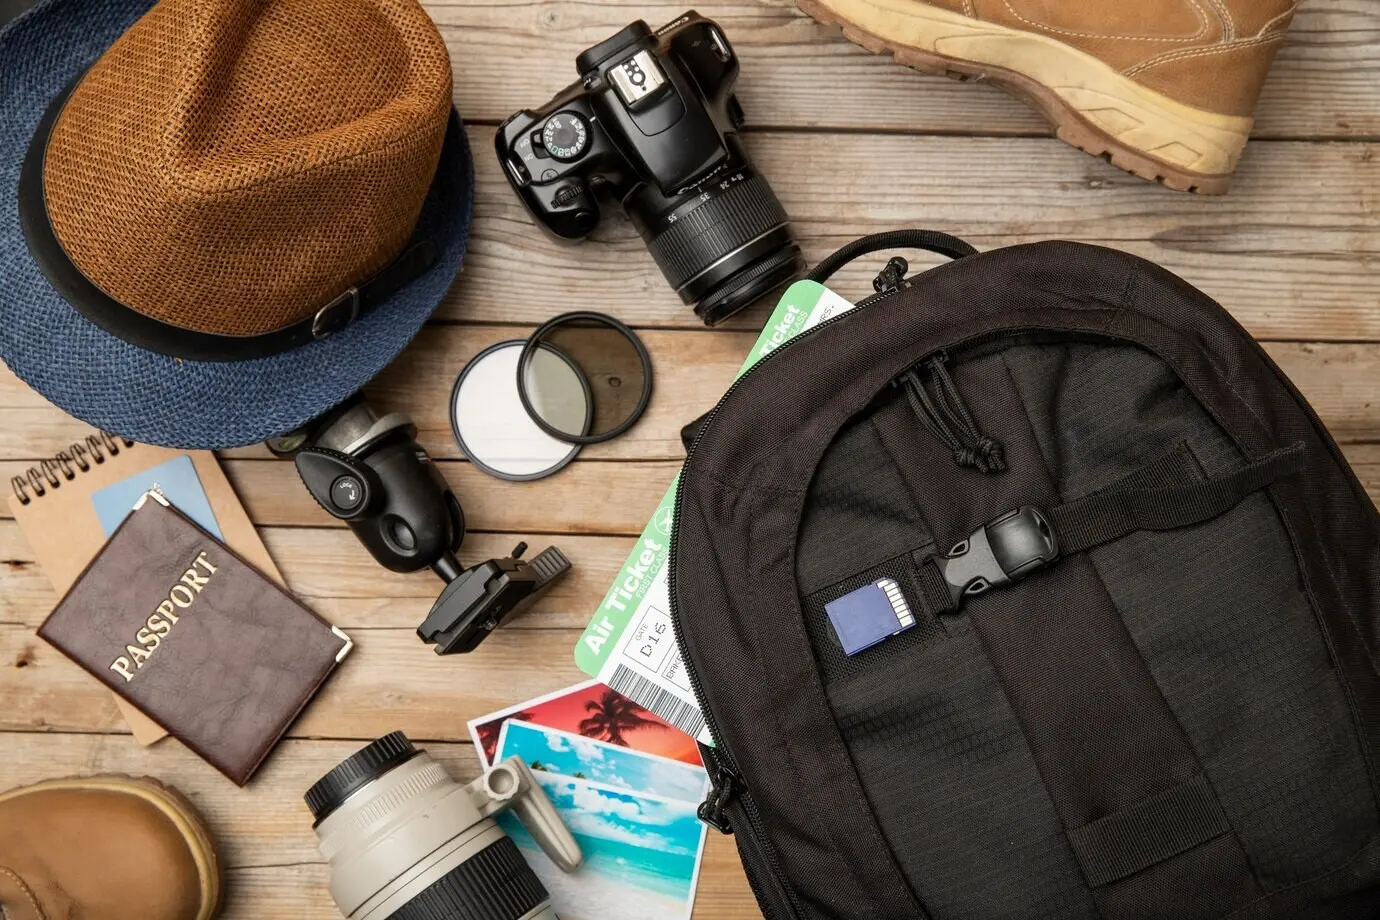
Backpacking Kit That Weighs Less Than a Book

Travel light by choosing multipurpose tools. A folding mini tripod doubles as a handle, a slim cage adds mounting points and protection, and two tiny lights replace a bulky softbox. Pack a microfiber cloth, short cables, spare adapters, and a flat power bank. Choose a pouch that fits in your jacket so you always carry the essentials. Share your kit photo and packing tips to inspire other creators.

Editing and Sharing Workflow

Great rigs are only half the process; editing, backup, and publishing complete the journey. Establish a simple workflow you can repeat after every shoot so your files are safe, your colors match, and your posts go live consistently. Use checklists, keep storage clear, and build naming conventions. Invite readers to swap before-and-afters, preset ideas, and caption strategies so everyone benefits from common pitfalls and smart shortcuts.

01

Raw Capture and Non-Destructive Adjustments

Capture in raw or high-bit formats when available to preserve highlight and shadow detail. Organize files by date and project, then edit non-destructively so you can revisit choices later. Start with exposure and white balance, then refine contrast and local adjustments like selective clarity and noise reduction. Save versions for different platforms, and record settings that worked well so you can replicate looks across sessions and devices.

02

Color Grading with Mobile Profiles

Mobile color grading has matured remarkably. Use profiles or LUT-like looks as starting points, then fine-tune hue, saturation, and luminance per color range to protect skin and product tones. Adjust curves gently for contrast, and match shots with a reference still on a second screen if available. Keep a library of subtle variations for different lighting scenarios, and annotate which combinations deliver cohesive galleries that feel intentional and consistent.

03

Publishing, Captions, and Community Feedback

Publishing is part of the creative loop. Export correctly sized files, craft captions that explain how you lit and stabilized the scene, and ask specific questions that invite thoughtful feedback. Tag locations and gear generically to focus on technique, and schedule posts to maintain rhythm. Collect comments, note recurring suggestions, and turn them into future experiments. Encourage subscribers to share their rigs and lessons so the learning compounds.

Savorixentula
Privacy Overview

This website uses cookies so that we can provide you with the best user experience possible. Cookie information is stored in your browser and performs functions such as recognising you when you return to our website and helping our team to understand which sections of the website you find most interesting and useful.